
Do you wish to swiftly and simply load things into Shopify? One of the simplest and fastest methods to launch your business in a couple of minutes is to import items using CSV files. Whether you're managing a large inventory, migrating from another platform, or just need a simple bulk import solution, a CSV file speeds up and improves efficiency.
Steps to Import Product into Shopify with a CSV File!
If you follow the correct procedures, importing items to Shopify is simple, regardless of whether you're a new seller or moving from another platform. To import items to Shopify, follow these four detailed instructions from Shopify data import preparation.
Step 1: Download Shopify Sample CSV File
The first step is downloading files by clicking on Shopify's example CSV file. The pre-formatted fields in this template make entering your product information simple.
After that, remove the sample to prevent it from combining with your real stuff.
Step 2: Fill the Product Data in CSV File
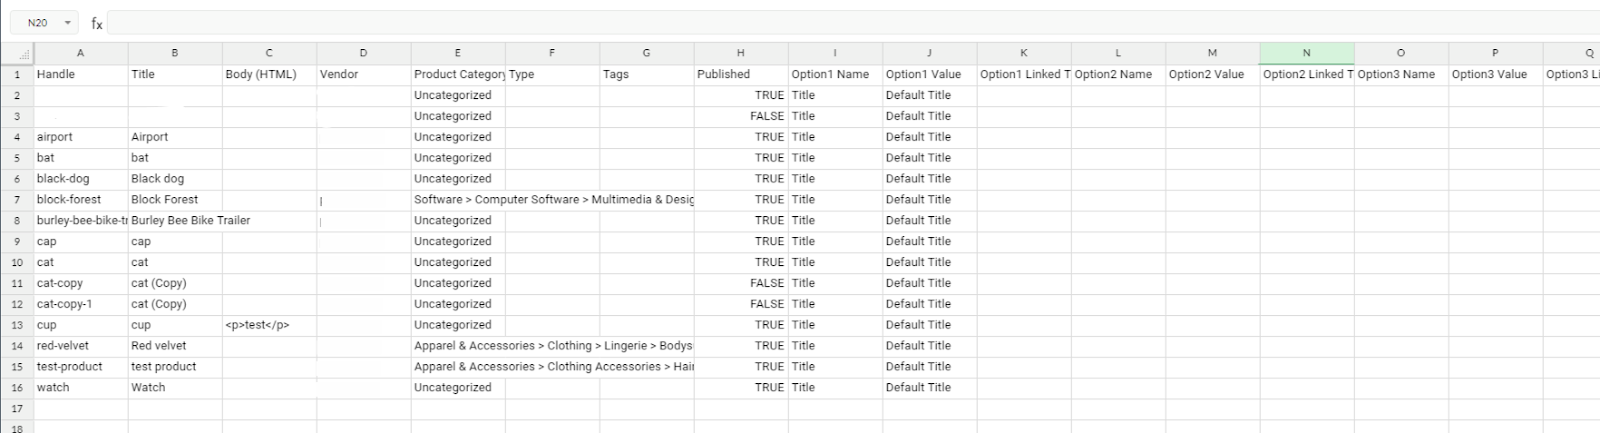
Two fields are required in this step for Shopify to identify and build the items throughout the import process properly:
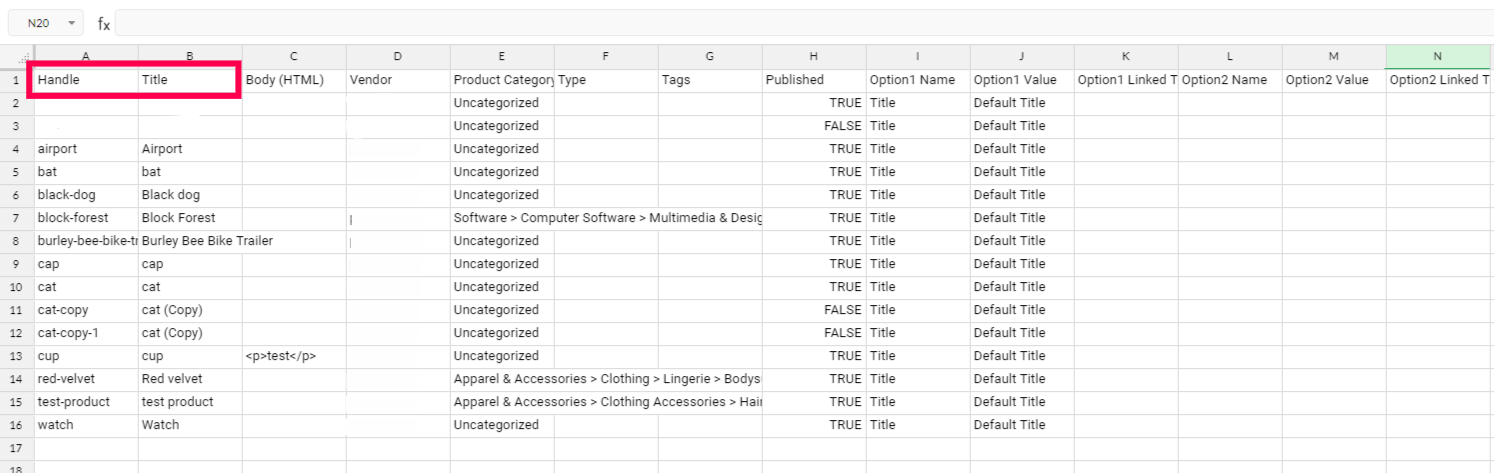
- Handle: This uniquely identifies each product. It must be distinct throughout your store and appear in the product's URL.
- Title: This serves as a representation of the product's name and is necessary for display.
Adding other suggested data can help enhance your product listings, even if the Handle and Title areas are crucial.
These are some required fields that must be completed in the Shopify CSV file. These essential fields will create a default value if they are left empty or missing from the CSV file.
📝"Notes: During the Shopify import goods procedure, you must ensure that the data is positioned beneath the appropriate column headings so that the platform knows where to allocate each piece of information. If the column is moved or deleted, an error may occur throughout the importing procedure."
Step 3: Formatting Your Shopify CSV File
Please make sure the file is structured appropriately after inputting the information so Shopify can read it correctly. Your files must fulfill the following two conditions:
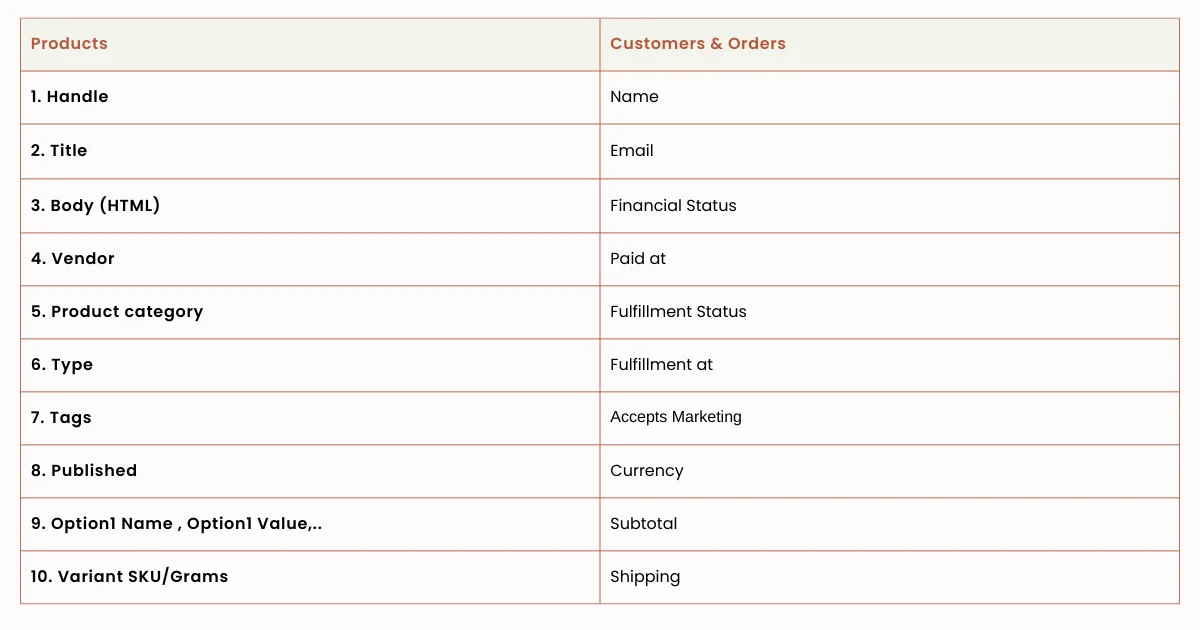
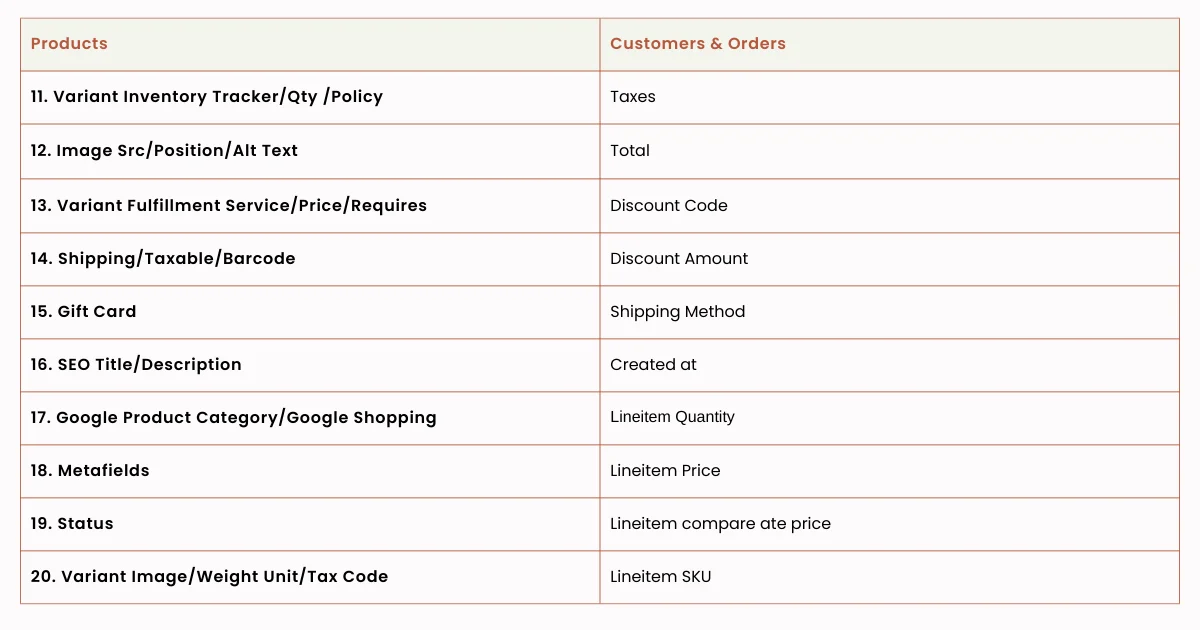
- The column headings, as shown in the product CSV description tabl,e must be on the first line of your product CSV file.
- Every column has to be separated by a comma.

Step 4: Import Products to Shopify
You can start the import procedure as soon as your CSV file is ready.
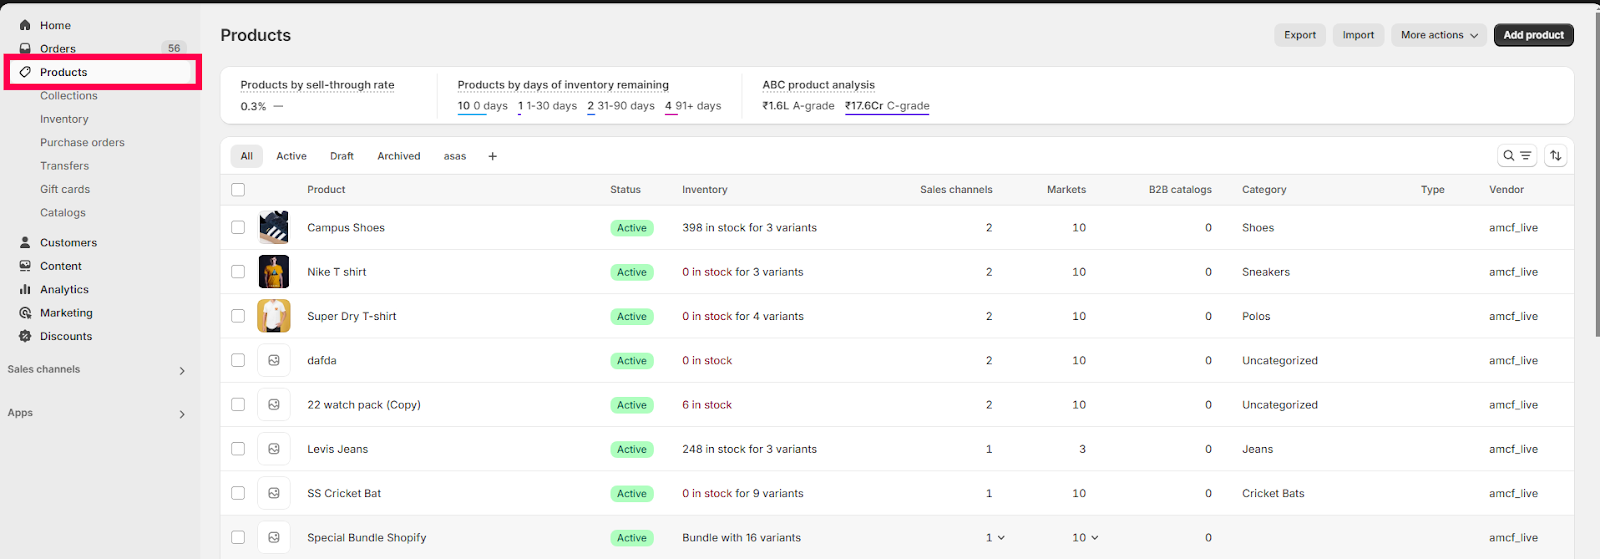
Navigate to Products from the left sidebar of your Shopify admin.
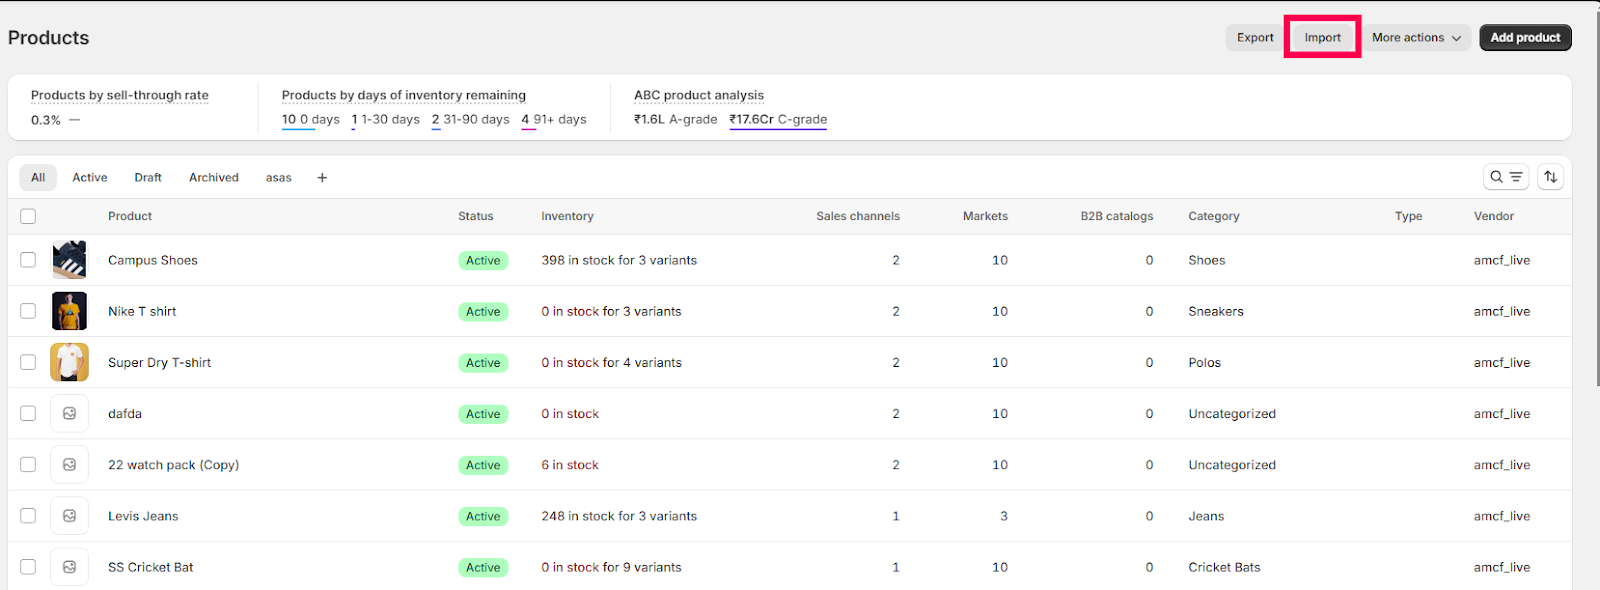
Then click Import
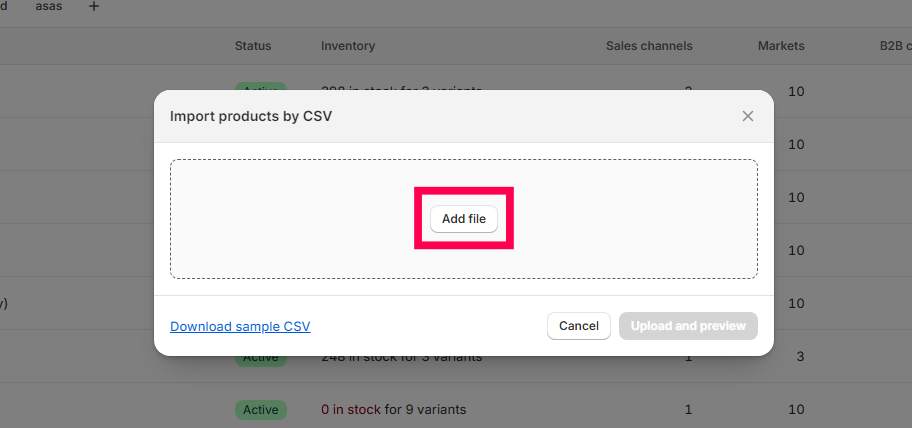
Click Add file, then select the CSV file you want to import.
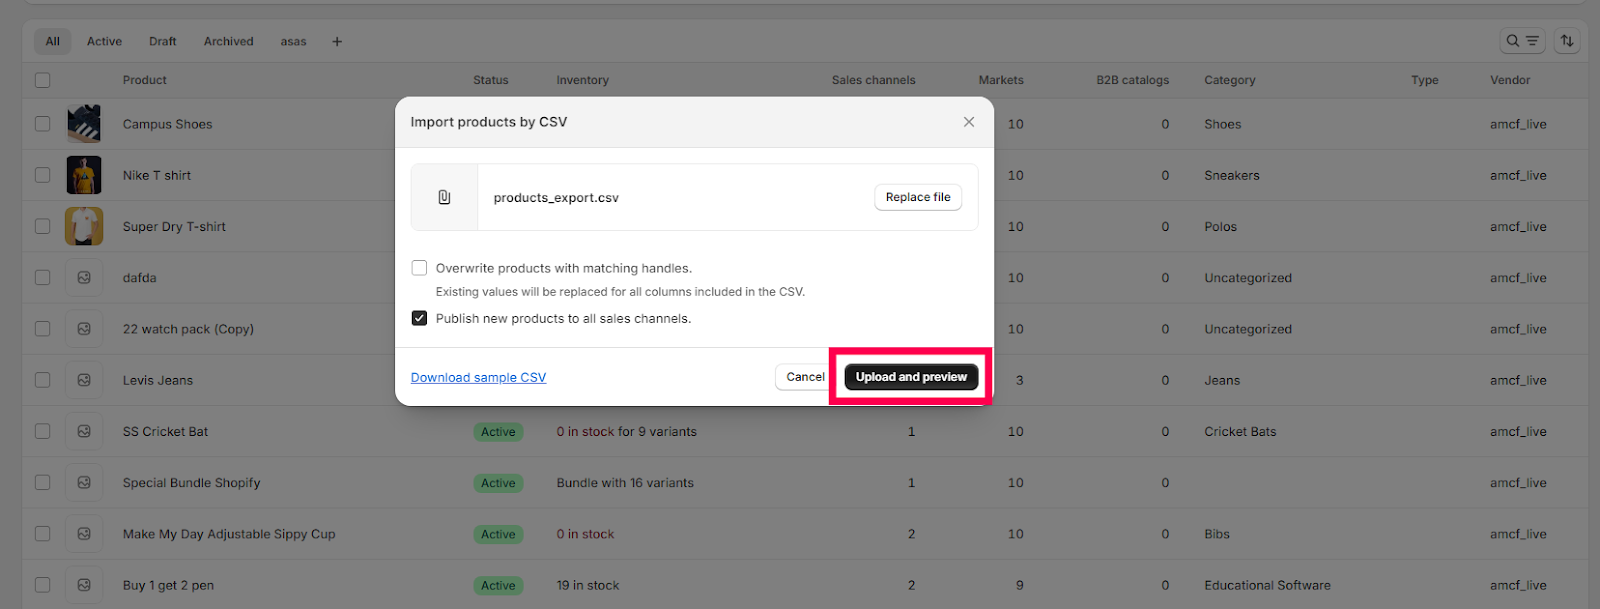
Choose Upload and Review to continue.
Let's check the import information first and then choose Import items to proceed.
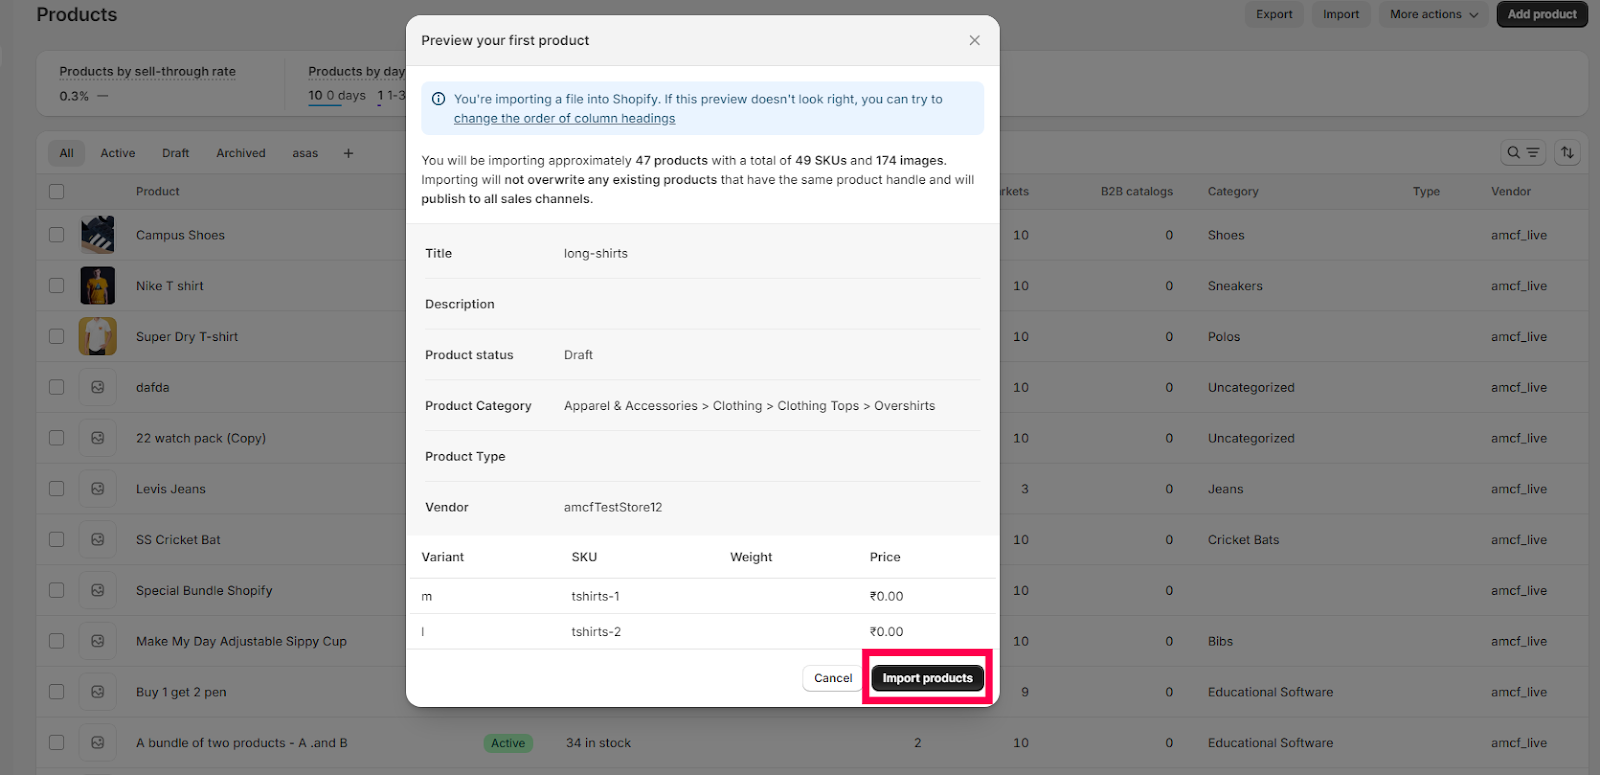
Shopify will send you a confirmation email using the email address you used to create your Shopify store when your CSV file has been submitted.
Which Tools Make Product Importing to Shopify Simple?
Importing items can take a lot of time when maintaining a sizable Shopify inventory manually. Thus, we require a specialized tool to speed up the importing procedure and help prevent mistakes. Don't worry—we're here to help you out in this process with the best Shopify automated tool - Amazon MCF by WebBee. Why choose us?
Amazon MCF easily handles orders from Shopify and several other e-commerce platforms. With established features like the Amazon Fee Report, hold order, and market support, it effortlessly maintains inventory records, imports inventory automatically, receives updates through notifications, and manages stock across many platforms.
Furthermore, it helps to preserve transparency by giving clients real-time monitoring so they can monitor their purchases. Customers' faith in Amazon is growing daily as a result of all these offerings.
Mastering the Process of Shopify Product Importation
If you properly prepare your data, importing items into Shopify may be simple. The following crucial advice will help you improve the precision and efficiency of your Shopify product imports:
1. Create an accurate and tidy data format.
Make sure the data format for Shopify import items is precise and accurate.
Thorough data cleansing is necessary before importing data into Shopify. This entails checking your spreadsheet for formatting mistakes, empty cells, and inconsistencies. Additionally, standardize date formats, eliminate superfluous spaces or line breaks, and ensure that all content is capitalized correctly.
2. Adhere precisely to the image specifications
Verify that any image URLs are public and unprotected by firewalls or login credentials before importing any photos. Images must contain file names made up of letters, digits, and hyphens.
Although Shopify supports some formats, JPG is the ideal format for product photos because it optimizes file size and quality.
3. Examine backup and post-import data
Check your listings after importing items to ensure everything shows up as it should. Verify that the search engine has optimized your descriptions for SEO. Organically include pertinent terms to increase exposure in search results.
It's crucial to back up your current product data before making bulk imports. This provides a safety net if something goes wrong during the import procedure.
Questioning how to import products to Shopify? We're the Solution!
Using technologies such as CSV files, dropshipping apps, and third-party migration tools, importing products into Shopify is simple and fast. Whether you're adding items manually, importing products in bulk, or migrating from another platform, Shopify has customizable options to meet your requirements. This blog article explains how to import items to Shopify in four easy stages.
On top of that, remember to offer us an opportunity to present your company using e-commerce automation software, and subscribe to our blog to learn about the newest trends in eCommerce and seller advice. For additional information, get in touch with us right away if you have any further queries.


